Fabric decision made! Here is the first block of my Carolina Lily quilt:
 |
| The print is the favourite |
The photo of the blocks together (below) is not a good photo - sorry. I can't seem to get a true colour and the print looks positively dirty. The photo above is much truer.
 |
| The two trial blocks |
Block construction also needed deliberation ;)
The pattern for each lily block (11 3/4 ") requires 28 individual fabric shapes to be pieced together (including background pieces), and then the stems/leaves to be appliqued on top. I don't enjoy this sort of piecing (am not at all good at it!) so had already decided I would just have a background square and applique the lot onto it.
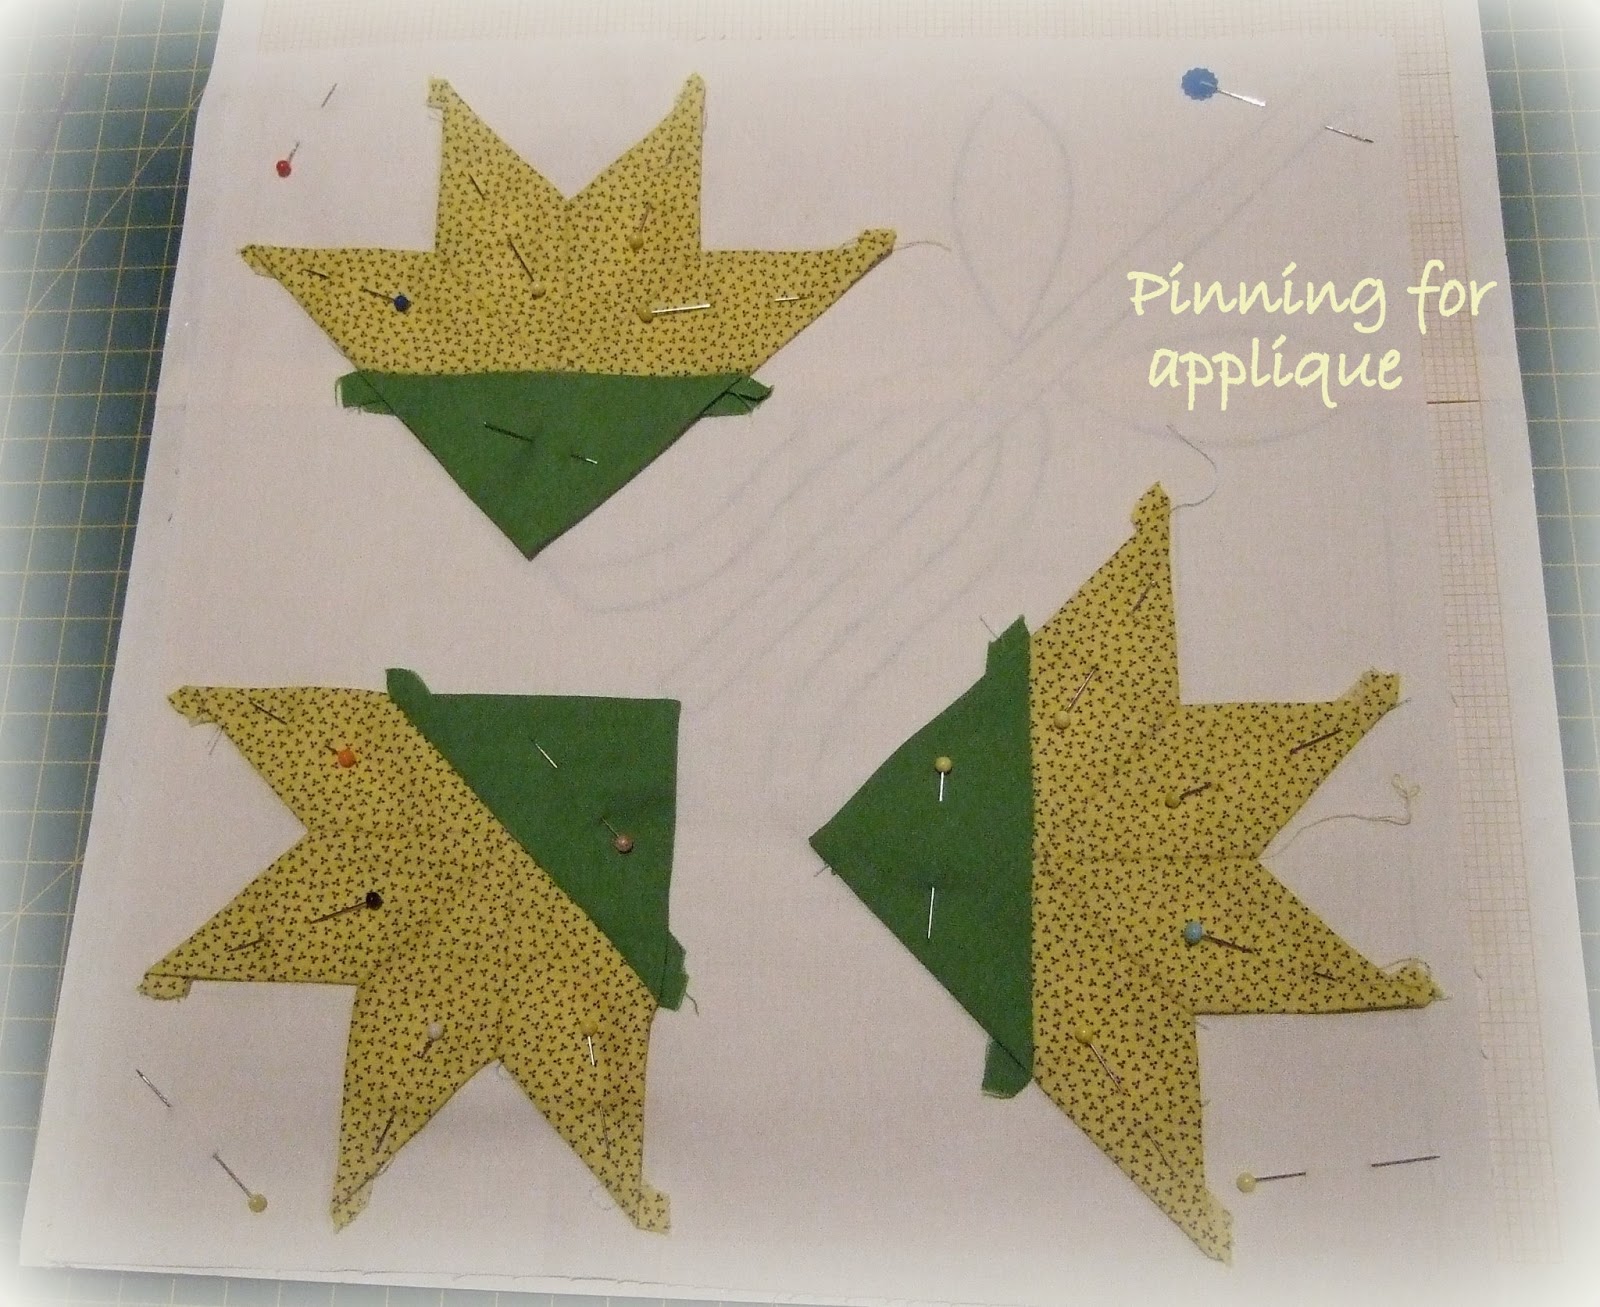
To help with applique placement I made a block frame - with opening the size of finished block. Then I made a sketch of the block on graph paper - the placement sketch for the applique pieces. By laying the background fabric square over this, on top of a lightbox, I could make sure the pieces would be in the same place on each block (hopefully?!).

Next: to make the flowers with English Paper piecing method:

 |
 |
| Great tool for bias making |
 |
| Curved bias stems did not sew down well - not using this method |
I'll post some photos of this method in progress next time. Am not having luck loading more photos today...sigh.
If you would like to see some precise piecing of a lovely Carolina Lily quilt have a look at
Thelma's red Carolina lilies - all machine pieced and even machine appliqued - magic! She has included great photo instructions.
 |
| Photo from Thelma's blog with permission - beautiful! |
Love the colours you chose for the Lily blocks. I also dislike piecing lots of pieces together- would much rather applique. Can't wait to see how a few blocks look together.
ReplyDeleteLove it! glad you went with the yellow print, it will be a stunning quilt. Thanks for sharing your method, I am so tempted to make one too!
ReplyDeleteThe yellow print looks great made up. Thank you for sharing your process, it will be a real heirloom when you finish.
ReplyDeleteYour post today was a good reminder that it's worth taking the time to make a couple practice blocks, especially for more complicated patterns. It sounds like you're eliminating a lot of frustration.
ReplyDeleteThe yellow print looks lovely in your block. Did they mean for you to sew the whole top center together and then do the appliqué' ? This sounds like Calico Paradise which I haven't had the nerve to start because of the large center.
ReplyDeleteThe block, fabric, and stem curve are all beautiful. This is going to be a classic!
ReplyDeleteSuch beautiful blocks!! I enjoyed the detailed post about your construction. I think the print was a good choice :0)
ReplyDeleteSuch a beautiful block! I love your choice of yellow. This is going to be an amazing quilt.
ReplyDeleteI love the print you chose! I agree with your decision.
ReplyDeleteYou chose a great print! Love how you re-do the pattern instructions to make it something easier for you! Looking wonderful.:)
ReplyDeleteLoving the yellow print. Its going to be another very lovely quilt Hilda.
ReplyDeleteThis is such a great post, from hearing how you decided on which yellow to how you construct the block. Thanks to Thelma for sharing her Red Lily too, I'm sure to start noticing lillies more in quilts from now on.
ReplyDeleteLoving your Carolina lily! One of my favorite quilt patterns!
ReplyDeleteThat is going to be a fantastic quilt. I love the yellow print you chose.
ReplyDeleteThanks for sharing your process. I love the yellow print.
ReplyDeleteNice to put a pretty face to your name!
Oh, yes! It looks lovely! The quilt will be stunning!
ReplyDeleteWhat beautiful blocks! It was a treat to see them. Wonderful tutorial, too!
ReplyDeleteThis comment has been removed by a blog administrator.
ReplyDeleteDid you make it to the Springwood quilt show? I went two days (I live in the mountains) it was awesome.
ReplyDeleteHi, just letting you know I added a link to you in my new blog, Aussie Quilters Online
ReplyDeletehttp://aussiequiltersonline.blogspot.com.au/2013/04/keeping-track-of-aussies.html
Jenni
For Elden Ring players seeking to enhance their gameplay without breaking the bank, MMOexp is the ultimate destination for cheap Elden Ring items. Whether you’re on the hunt for powerful gear, rare weapons, or essential consumables, MMOexp offers a wide selection of affordable items to suit every need. Their commitment to providing high-quality items at budget-friendly prices ensures that you can upgrade your equipment and progress through the game efficiently. Don’t let high costs hold you back—visit MMOexp to find the best deals on cheap Elden Ring items and elevate your gaming experience to the next level.
ReplyDelete