Monday 25 May 2015

Civil War Bride in Red

This one has been a little neglected. Part of the reason was that I had made all my favourite blocks from the Threadbear Civil War Bride pattern, and was not sure about others, not sure about elephants and horses (apologies to horse lovers out there) and thinking I might make some more changes to suit me. So...there are changes. 
I especially love the fruit bowl in the original quilt  (not included in the Threadbear pattern). 
Here is the bowl -  a zoomed in photo of the antique original quilt (in the book Treasury of American Quilts by Nelson and Carter Houck): 


And here is a version of the bowl block in "A Bountiful Life" pattern book:


The block in Bountiful Life is a square and I am making rectangle blocks (as in the Threadbear pattern )  - so it was not going to be possible to simply grab a block from Bountiful Life. Some drafting was needed to fit my 15" by 12" blocks. Here's what I came up with:


And then I gave the poor bird an eye (more on that later)

Can you see butterflies fluttering out of  this fabric?


Another block to be changed...am not so sure about the eagles. This block (from the Threadbear pattern)..
Threadbear block
...became this block by adapting the leafy branches and adding a rabbit and a butterfly:

my sketch


I decided the block with the horses and elephants was not for me (sorry - it is a fun block but just not what I want for my version) and needed a completely new block to replace it. So I went for another gentle creature - a squirrel - and borrowing the oak leaves and acorns that were in an earlier block - remember this one completed a while ago? 

My new block - similar leaves:

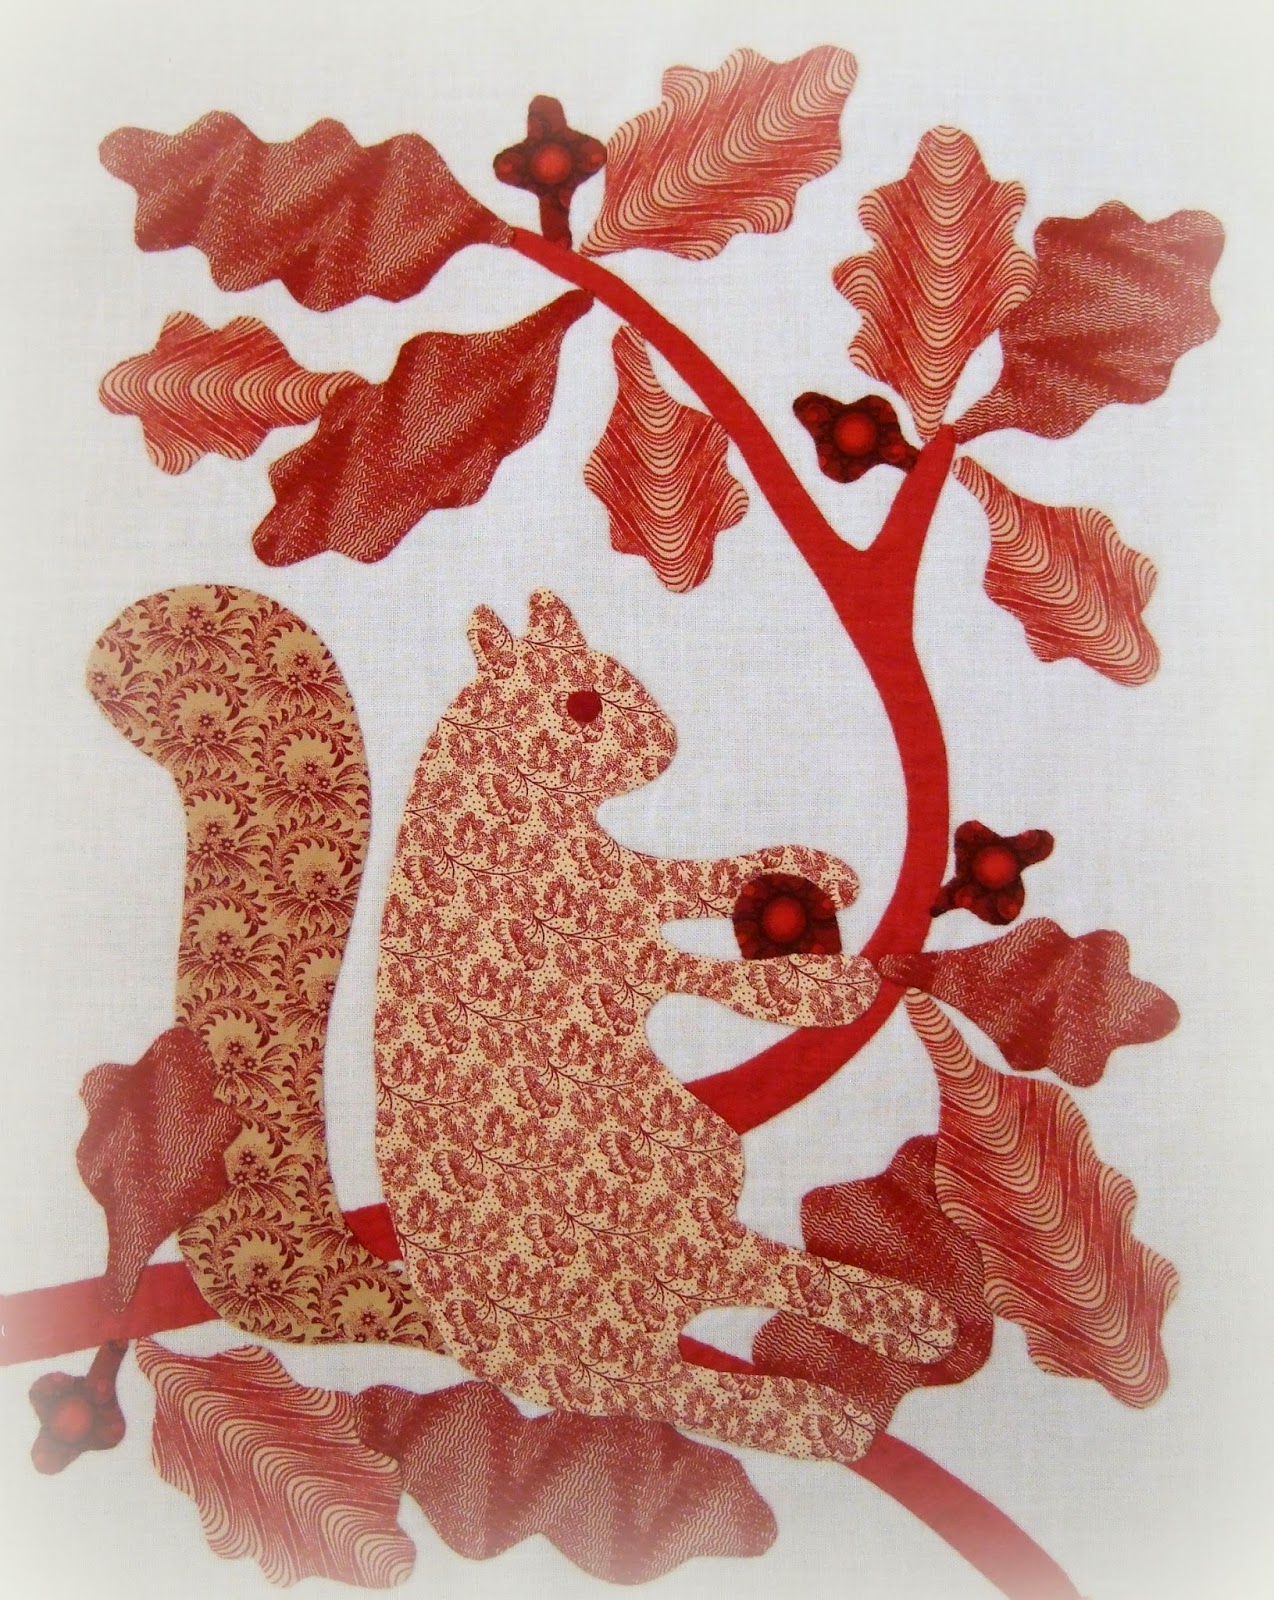
It seemed fitting to use this fabric for the squirrel's body..

Having made these changes there were only two more blocks to finish!
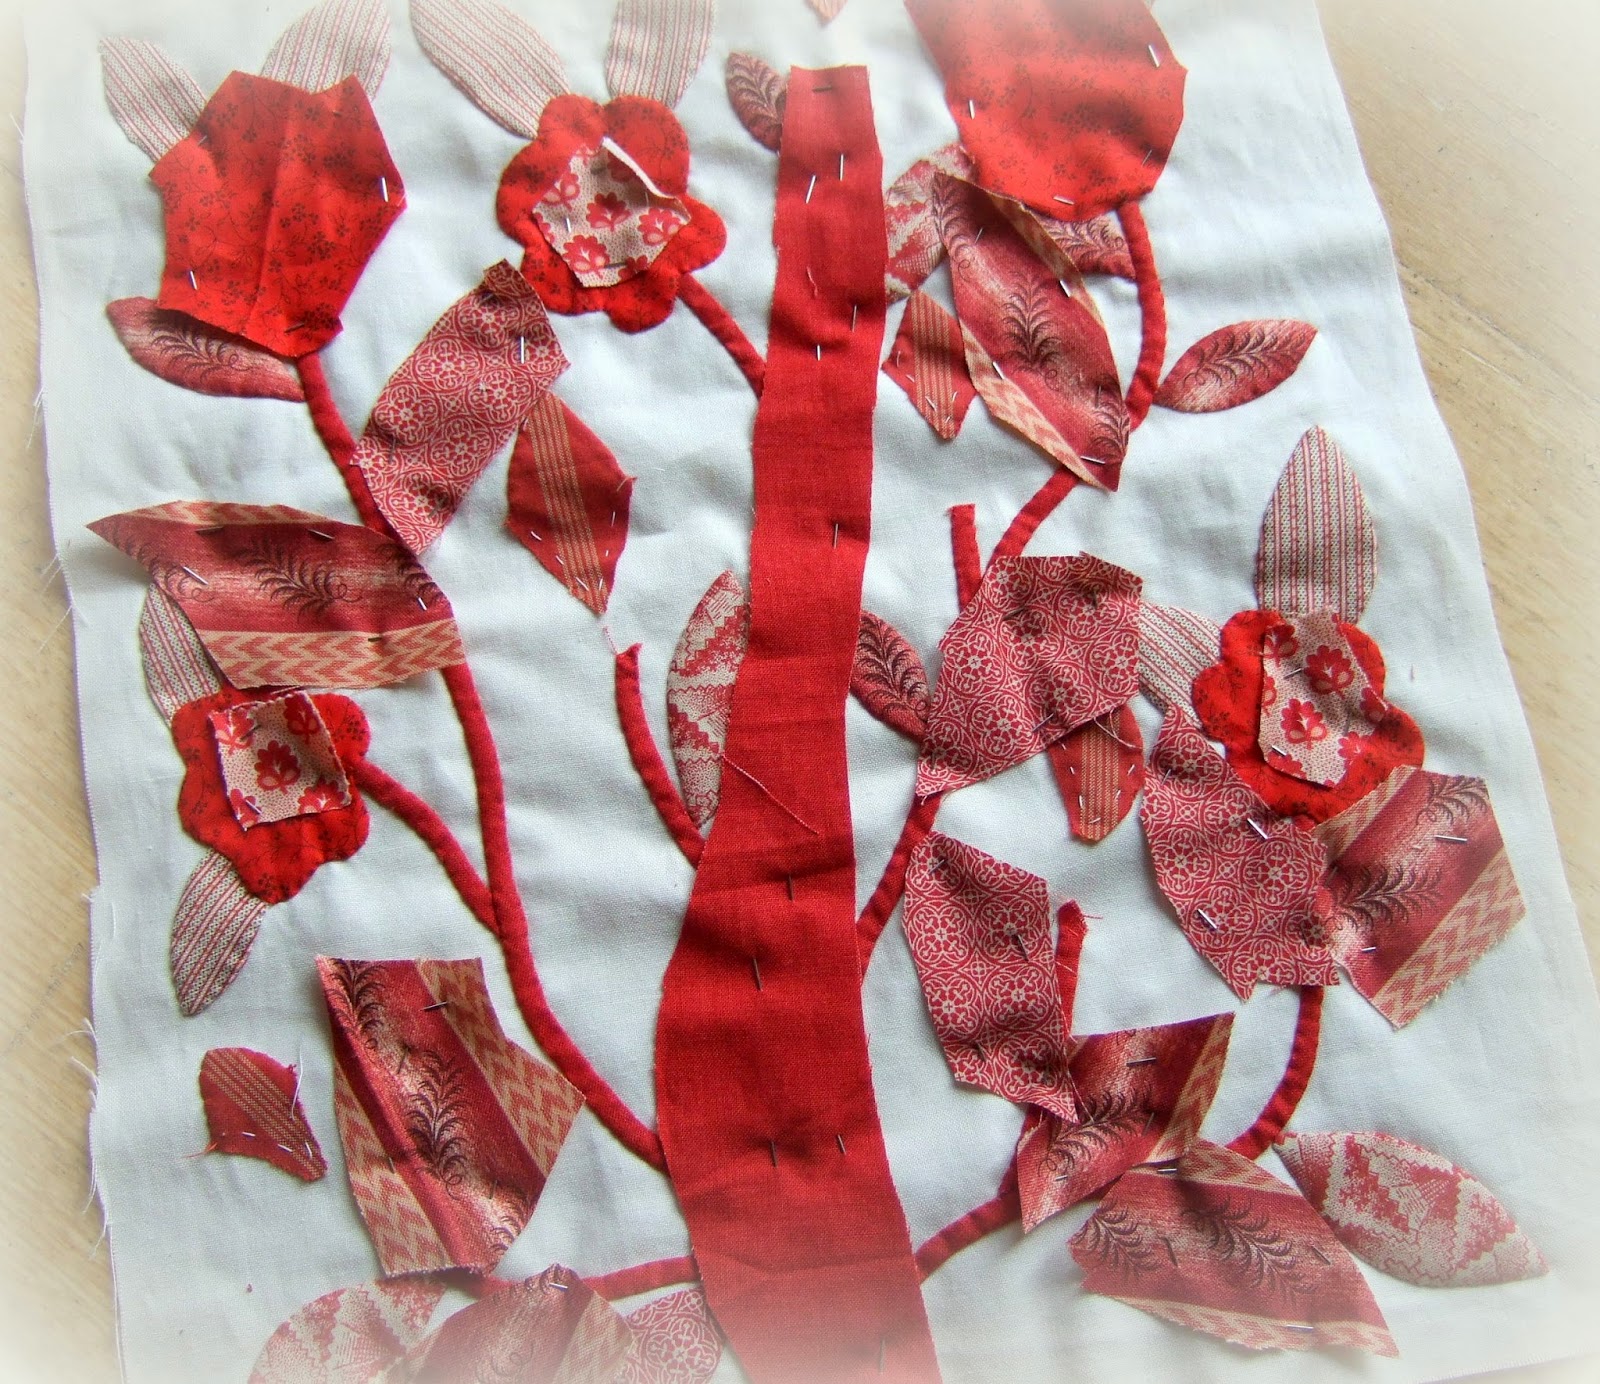
The second last ...with lots of berries.
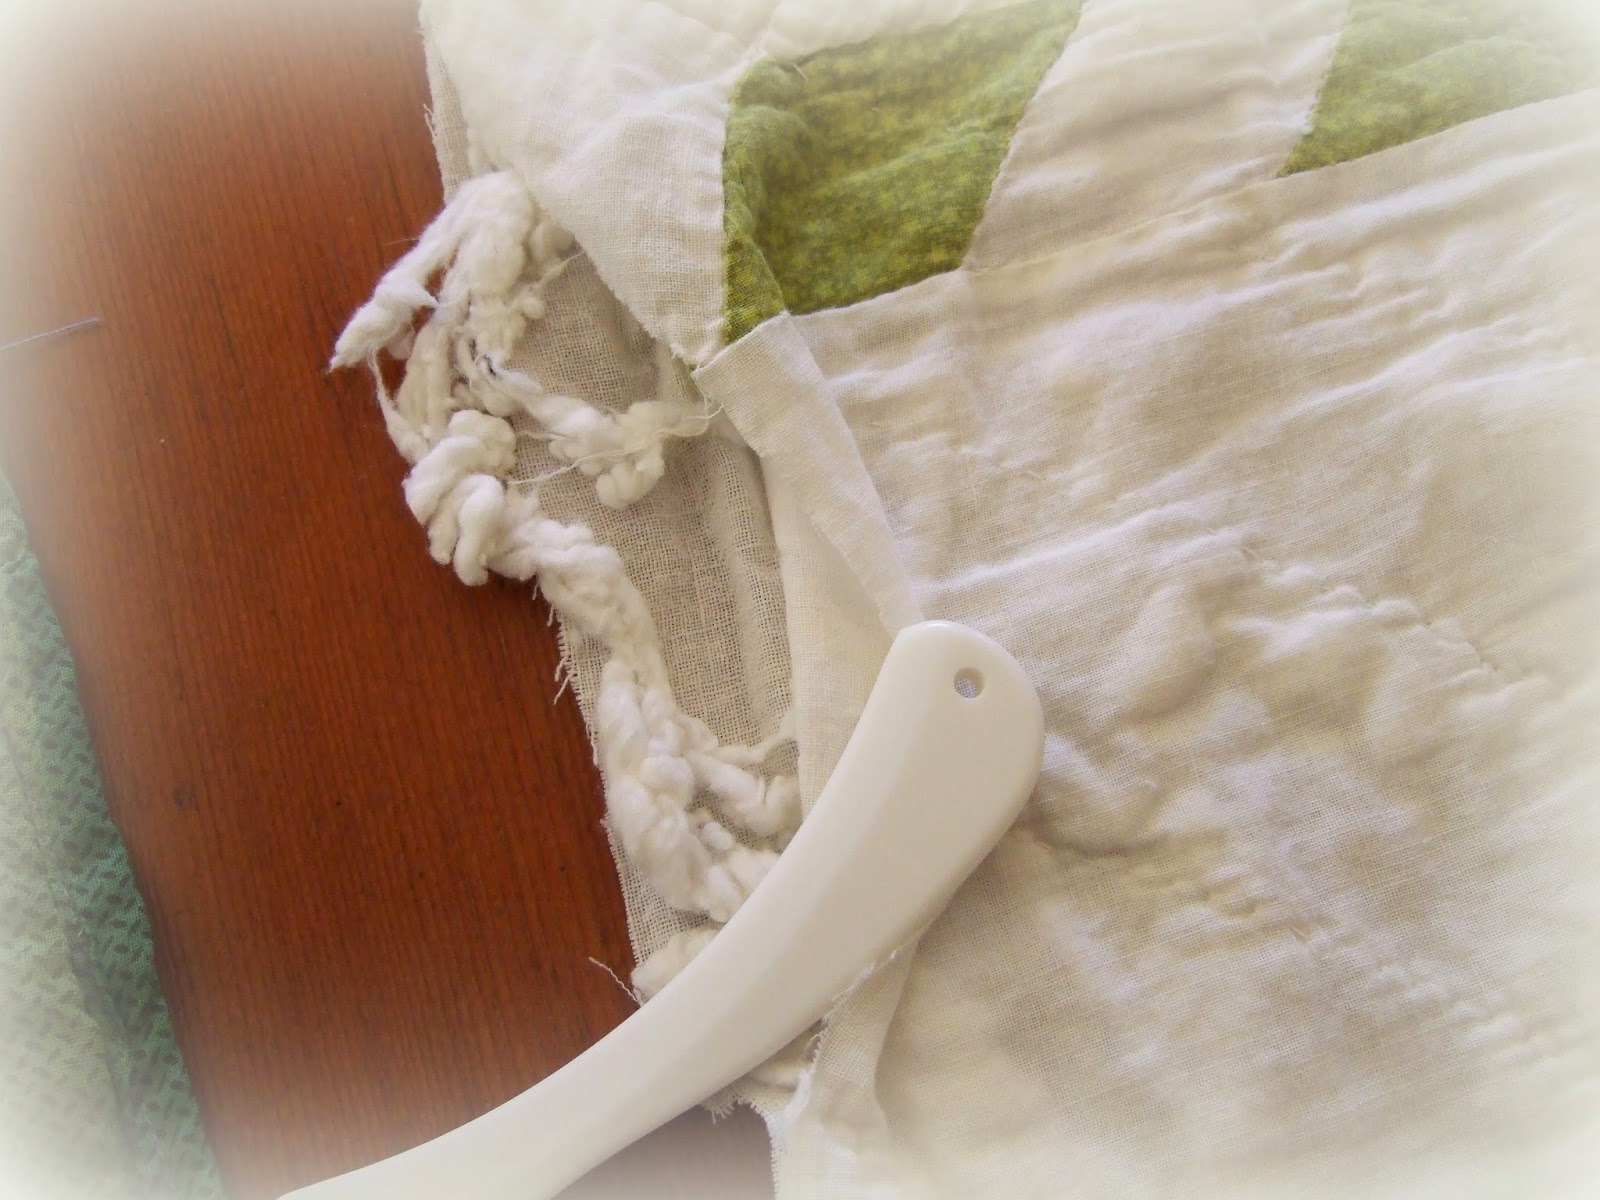
The last block ..back basting prep for needle turn applique - looks chaotic but there is method in there and I find it works a treat.


Just a note on eyes - for all the creatures in the blocks. I had left a lot of them 'eyeless' but in the end went back to add eyes and I like how they look. This fabric was handy for the smallest eyes - an old line from In the Beginning fabrics:


So all the blocks were done and all I had to do was lay them out and stitch together...sounds easy? But I can tell you it took some fiddling around to achieve a relatively balanced feel - not just balance in value, but also the style and subject of the blocks and the fabrics used. I thought it would be nice to have an urn in each corner. Not sure I have achieved a value-balance but now they are stitched together and that's how they'll stay! Once a border goes on it should draw it all together better. 


Next is planning the border - could go with some elements from the original or I'm thinking maybe lots and lots of scrappy leaves on a trailing vine. 

Here is a little family of tubs I made recently when a friend came over to stitch for the day. Many thanks to Kyle from Timeless Reflections for the inspiration and the link to the free pattern. They should take only an hour each to make - and I'm pretty pleased to have three made in a day, despite all the chat going on!

There is a lot of work to be done in the garden - trimming back perennials after their autumn flowering. But I am holding off as garden visitors are still munching on the seed heads. The crimson rosellas love the salvias .


Tuesday 12 May 2015

Applique and antique quilt pieces

I have just caught up on applique with Benjamin Biggs. 
Block 15

Block 16
Block 17

I feel a little more relaxed with my hand quilting November deadline on my Auntie Green gift quilt (well over half way there now) so have sneaked in the other applique work too. It has been very tempting at times to work on other projects but I wanted to make sure the quilting was the focus, as I am easily distracted quilt-wise! Here is a little bit of the centre grid. Apologies again that I still can't show the whole.

Auntie Green 'secret sewing' - quilting the centre grid

I've always thought it would be wonderful to see antique quilts up close to examine the stitching, construction, applique etc - basically to take them apart! but I don't get the chance to do much more than look at pictures in historical quilting books or on the internet. Bloggers are a great source when they post pics too of course - always gratefully accepted! I don't feel inclined to purchase antique quilts - quite apart from the expense - I am much more interested in making my own reproductions. 

So it seemed the perfect compromise to purchase a small collection of "antique quilt cutter pieces" from the US - ridiculously cheap but perfect for close inspection. Aren't they lovely and can't you imagine how special each whole once was? 
The five pieces on the dining table
 Love the colours and tiny prints in this one - red and yellow hand pieced block , pink sashing and green border.

Here is the back. The hand quilting looks like it was done 'freehand' without marking - inaccurate but so charming. The binding is just folded over from the front to the back and hand hemmed on the back. But some binding 'repairs' have been made crudely by machine in parts - much more recent it appears.


Great to peek in at the wadding too - uneven in density and looks like thick cotton with little flecks of seed  and plant matter in there too - fascinating to me!

This must have been a stunning border  - a faded leafy print hand appliqued onto a fine homespun. Love the triple rows of tiny quilting stitches. A thin cotton wadding - again with mysterious little bits of plant matter in there. 


the hera marker is there for scale

The binding has been added more recently I suspect - by machine, and a hanging sleeve on the back too:
The back showing hanging sleeve


The next fragment is part of a hand pieced star quilt and the green fabric is a tiny star print in poison green. It is so interesting to peek at the piecing stitches - very neat white running stitches. The wadding is in a bad way - all clumped, thin and seperated.


How odd to have one little diamond of a different fabric? My first thought was it must be a repair but it does not look it - has been quilted over with the same thread as across the rest. 


The binding is just self-binding of the cream backing folded over to the front and hemmed by hand on the front.


Here is an old peony block made in two solid colours - much used and laundered as the cotton is so thin and the wadding very thick and clumped inside. But it is all hand work - applique, piecing, sashing, border seams and binding, and holding together beautifully. The hand quilting has partly disintegrated but the whole is so beautiful!


Lastly - a simple applique flower in lovely faded poison green and chrome orange solids. The applique is fine hand stitched and the quilting is by hand, but the block seams are machine stitched and so is the binding. The 'wadding' is just a piece of fabric - a brushed cotton - making it more of a coverlet perhaps - or a very light quilt . Maybe more 'vintage' than 'antique' here but must have been a pretty quilt once. 

I have very limited knowledge of antique quilts (wish I knew more) but found it fascinating to examine these fragments and imagine the creators and the 'lives' of the quilt, and when they were made.  They will be carefully treasured snippets - and a great source of inspiration. 

...sigh...back to making replicas with a renewed energy!