Pages

Thursday, 20 March 2014

Threadbear's Applique School

That was last Saturday on my visit to Castlemaine in Victoria. 
Since then it's been a busy week what with work and life...but I've been keen to post about this great workshop. It was a very full day of mastering applique techniques  - half the day with Di Ford and half with Margaret McDonald. 

This is the very generous collection of goodies we each received in a bag on arrival. And there was chocolate and lollies, but that has vanished ...who knows where.

3.3 metres of fabric included
Both Di and Margaret have taken these same fabrics  and used many similar appliqued elements (broderie perse, chain borders, dresden plate, drunkard's path etc). But their quilt tops are distinctly different. Neither tops are completed - due to time constraints - but are wonderful samplers of many applique techniques. And don't they both have a gift for fabric selection!

Di's quilt

Margaret's quilt
There was a lot to cover and it was heads down frantically stitching technique samples. 

A busy class
Here is a compilation of my meagre samples ( finished them in the evening due to being a bit of a slow poke on the day - too much chat).


For me there was a bit of a 'light bulb' moment -  adding a border to a quilt does not need to be just a straight-edged strip of fabric (or even a pieced strip) stitched to another. With the use of fussy cut appliqued borders there are all sorts of interesting new possibilities to add charm and movement to the quilt. 
Looking at the close up of Di's pink border below - it is a  strip of fabric that has been fussy cut in a wave edge and appliqued on to a tiny printed stripe  - magic!   


Appliqued mitre corners

Margaret has similarly fussy cut the light green border (below) and appliqued it onto a mustard print. And what a stunning applique chain border! She devised her own special technique to construct this and it worked a treat.


Broderie perse flowers and leaves, and more fussy cutting.

Di's centre

Margaret's centre
So much inspiration, great teaching, delicious catering, and my 'quilting cred' has just gone way up because I can now say "I've had a class with Di Ford"!
There was a lot of  blogger meet-n-greet going on. I can now put a face to Ruth from Ruby's rhetoric. Do check out her projects - there is even a beautiful Morrell quilt if you look back through the posts.

By the way - I have finished my son's beanie well in time for his birthday. Here it is - nothing bright and beautiful, sigh, but just what he ordered . 

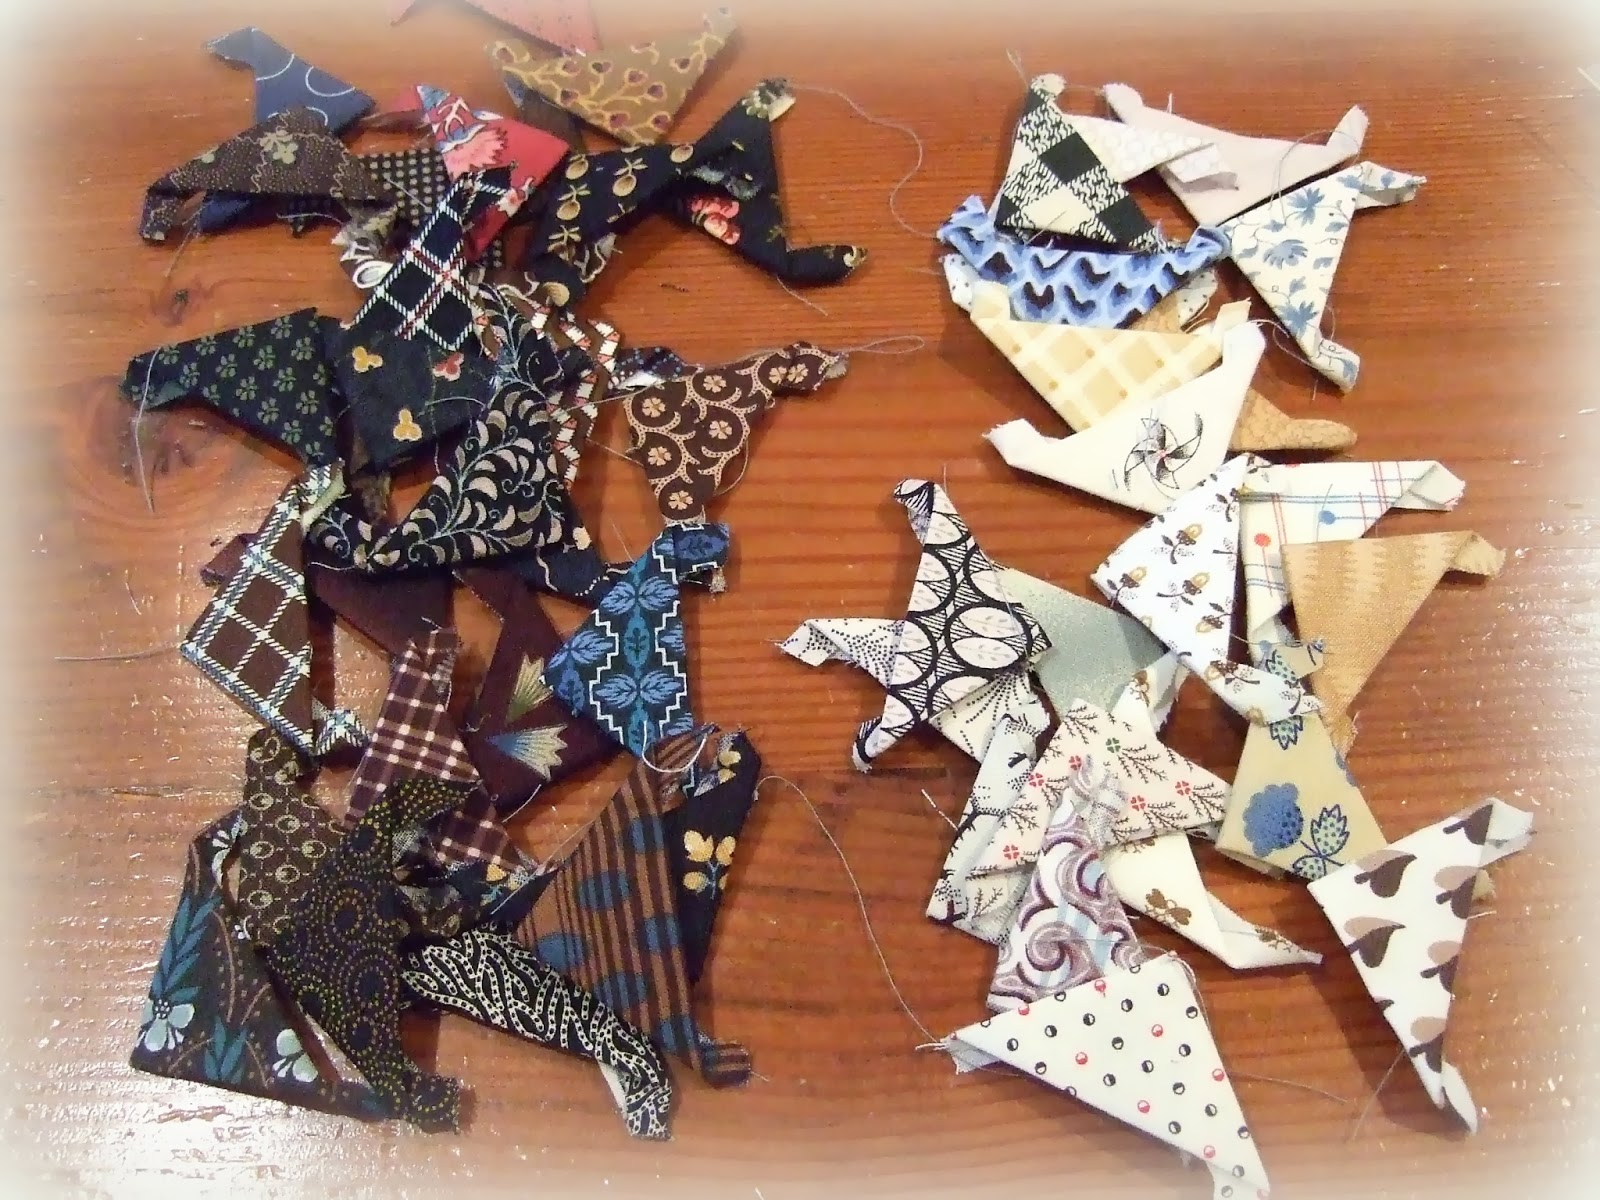
And here is some progress on the EPP pinwheels for my Ann Randoll marathon quilt. See - they do come together quite fast by this method - so portable and easy to do a little at a time. Almost all of this was stitched in my evenings on the 5 day trip to Castlemaine. One or two of the fabrics are new acquisitions from Threadbear.
Happy stitching :)

Tuesday, 18 March 2014

Castlemaine Applique Exhibition

I have just arrived home from a wonderful visit to Castlemaine in Victoria. There were such treats in store - the inaugural exhibition of the Castlemaine Applique group, an Applique workshop organised by Threadbear, a visit (or three) to Threadbear quilt shop, meeting other bloggers/quilters, shopping and more...

On Sunday I visited the Exhibition. I discovered they were open at 9 am - earlier than advertised - so I got to have a good look around before the crowds...

and I'm in...
In the window on the way in ...beautiful!
The raffle quilt - amazing applique


What a great venue to highlight the quilts - and the morning light streaming in the windows made the quilts glow : 
 

I have only seen one blog post on the exhibition so far (no doubt there will be more!). Sue-Anne has posted lots of lovely photos of the displayed quilts - do have a look there. I took loads of photos too but am trying not to double up with her so here are some others...(I did get permission to post)

Not all quilts were hung - some treasures were folded or draped :

Beautiful red and white!

Lovely grouping looks quite antique in morning sunshine

I couldn't see a label on this folded quilt but isn't it striking? :


The lighting shows up the lovely quilting


Tiny quilt - I am guessing 18" but could be less...just perfect
From the tiny to the very large...

Stunning clamshells!

 Broderie perse centre


Gorgeous borders on Mrs Millers Journey by Meghan Leslie - somehow I forgot to photograph the whole quilt. I don't know about you, but I love that background...


Interesting to read the story on the card on this next quilt - the quilt looked perfect and the colours are magic IMHO : 


Sue Jones' Ann Daggs - love the fussy cut birds

So many quilts, so much talent, impossible to pick a favourite!

As if that wasn't overwhelming enough - there were also some great shopping opportunities.
here...
That is Threadbear as it was rarely seen at the weekend  - a quiet moment before opening time. It was a different story later on! It was my first visit and I was quite taken with the repro fabric selection, wow - brought home some treasures to embellish the stash. 

and here...
A quilting friend led me to this discovery ( thanks Kelly) - Habadash - full of fascinating vintage haberdashery treasures. I couldn't resist the vintage peg bag, and the piece of linen toile. The velvet buttons and tape might not be vintage but I can see uses in making stitchery gifts: 

I'm all out of time - will post again soon about the Applique workshop.


Sunday, 9 March 2014

Ann Randoll's middle is made

I finished the vine border and the large saw tooth border.


Here it is all attached and the centre finished. 


Following on in Rhonda's pattern ...next step is a wide pinwheel border. I need to make and attach 112 scrappy 3" pinwheel blocks. This is an opportunity to add lots more colour if you wished.

Just a reminder - this is a photo of the original antique that we are reproducing - with the pinwheel border located between two vine borders: 
photo from Sue Prichard's book Quilts 1700-2010
Auditioning a little bit of my pinwheel border:


I am making my pinwheels by English Paper piecing. There was a bit of trial and error to make sure the pinwheels ended up 3" across - just adjusting the paper size to suit. The sides of my triangles needed to be just under 1 1/2" (a little smaller than the templates provided in the pattern). 


Triangles ready to be whip stitched together into pinwheels. I am restricting my colours to mostly dark browns contrasting with light shirting-type prints - but with touches of bright blue and salmon pink. I'll be thrilled if it ends up looking something like the original colour scheme - because I love it!


That's two pinwheels done ...and 110 to go. But it's not about counting ...it's about playing with fabric isn't it?

Something completely different - Benjamin Biggs block 3. And this one is such a lovely pattern. 


I did have a wry smile when I downloaded this pattern - and saw all the tiny stems. I had just changed my blocks from 16 inches to 12 inches ...which made the stems just that little bit smaller. Hmm...be careful what you wish for?
I had trouble managing the recommended bias stems - couldn't make them small enough somehow. So I made them with back basting, making sure to use a very fine weave fabric for the stems to reduce fraying. It worked really well for me. The only part not back basted are the cherries - because of the fussy cutting. They were just cut out, pinned and needle turned . 


My son is turning 20 in three weeks and he has just told me that what he really wants for his birthday is a knitted beanie. I made him one last year and he wore it almost to death in winter, and then sadly lost it. So, guess what I will be doing every evening for a while?